![]()
![]()
![]()
![]()
|
|
|
|
|
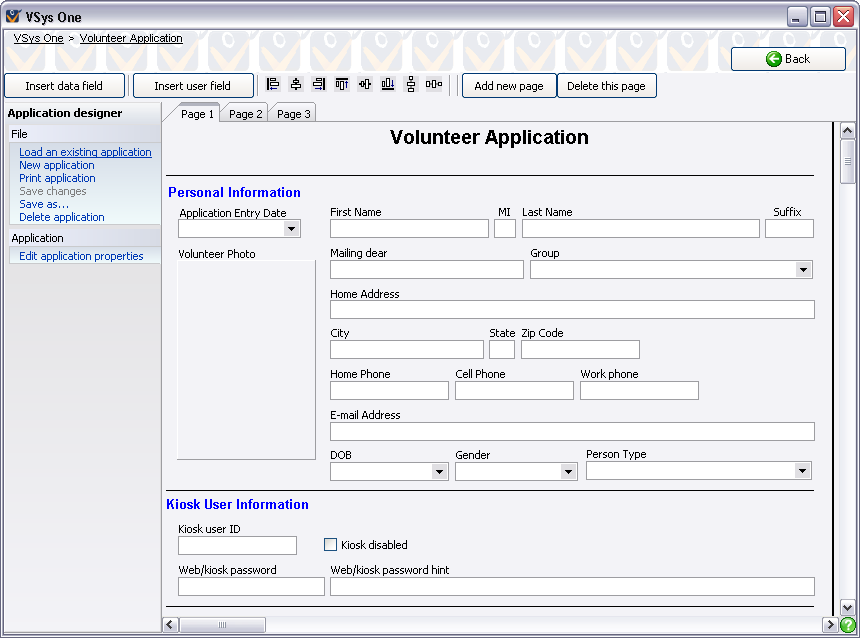
Concepts
Use the custom application form designer to create or edit custom application form layouts, making them available for data entry use. You can edit and save a custom application form layout within a project, which makes it specific to that project.
Steps in This Task
If you already have a custom application window open, a Confirm window opens that asks if you want to throw out changes to your existing application.
Insert a Data Field
Data fields contain information that is used in different places throughout VSys. When you add a data field, VSys will locate the existing information and pull it in from where it is stored in VSys.
Insert a User Field
User fields allow you to add whatever field labels you want to a new field. Unlike data fields, user fields do not affect or use data outside of the custom application form itself. To add a user field to this screen,
If the field overlaps another field, first click on the screen, click within the field (not on the field title), and drag it to another location.
Add a New Page
To add a new page to your form, click the Add new page button. VSys adds another page with a tab button at the top of the screen that lets you click to select it, along with a Delete this page button.
Delete a Page
Editing basics
To move a field to another location: click within the field and drag it to another position on the screen. This will also move the associated field name, if applicable.
To move a field label (the field name): click directly on the label and you can drag it independently from the field.
To change the width of the field: position your cursor over one of the handles on either end of the field until you see a line with an arrow at each end. Then, click and drag it to the right or left to lengthen or shorten the field.
To change the properties of a field: click on it to select it. A table displays beneath the left navigation panel that lets you change various aspects of the field.
To move or delete multiple fields at once, click on the first field normally. While holding down the Shift key on your keyboard, click on the remaining fields one by one. After releasing the Shift key, you can click and hold any of the fields and then drag them to a new position, or hit the Delete button on the keyboard to delete them en masse.
Delete a field: click on it and press the Delete key.
Unlabeled icons
There are a series of button icons at the top of the screen between the Insert user field button and the Add new page button. These icons let you line up the various fields (when you've selected multiple fields) in precise positions on the screen. Select the fields you want to align and then click on the appropriate icon.
The actions of each icon are described as follows, in order from left to right.
|
Align all selected components horizontally along the left edge |
|
Align all selected components horizontally at their centers |
|
Align all selected components horizontally at their right edge |
|
Align all selected components vertically along the top edge |
|
Align all selected components vertically along their centers |
|
Align all selected components vertically along the bottom edge |
|
Space all selected components vertically |
|
Space all selected components horizontally |
Save changes
Saves the Custom application form to the database, overwriting the existing application definition, if any.
Save as...
Save the Custom application form as a new application or as an XML file on a disk.